A Location is a single operating store in your portfolio. The Locations workspace is your canonical store register: it is where every store address, brand assignment, and key date lives, and where each store's construction projects roll up. This article covers the workspace views, finding a store, adding and editing a Location, and how lifecycle status is set.
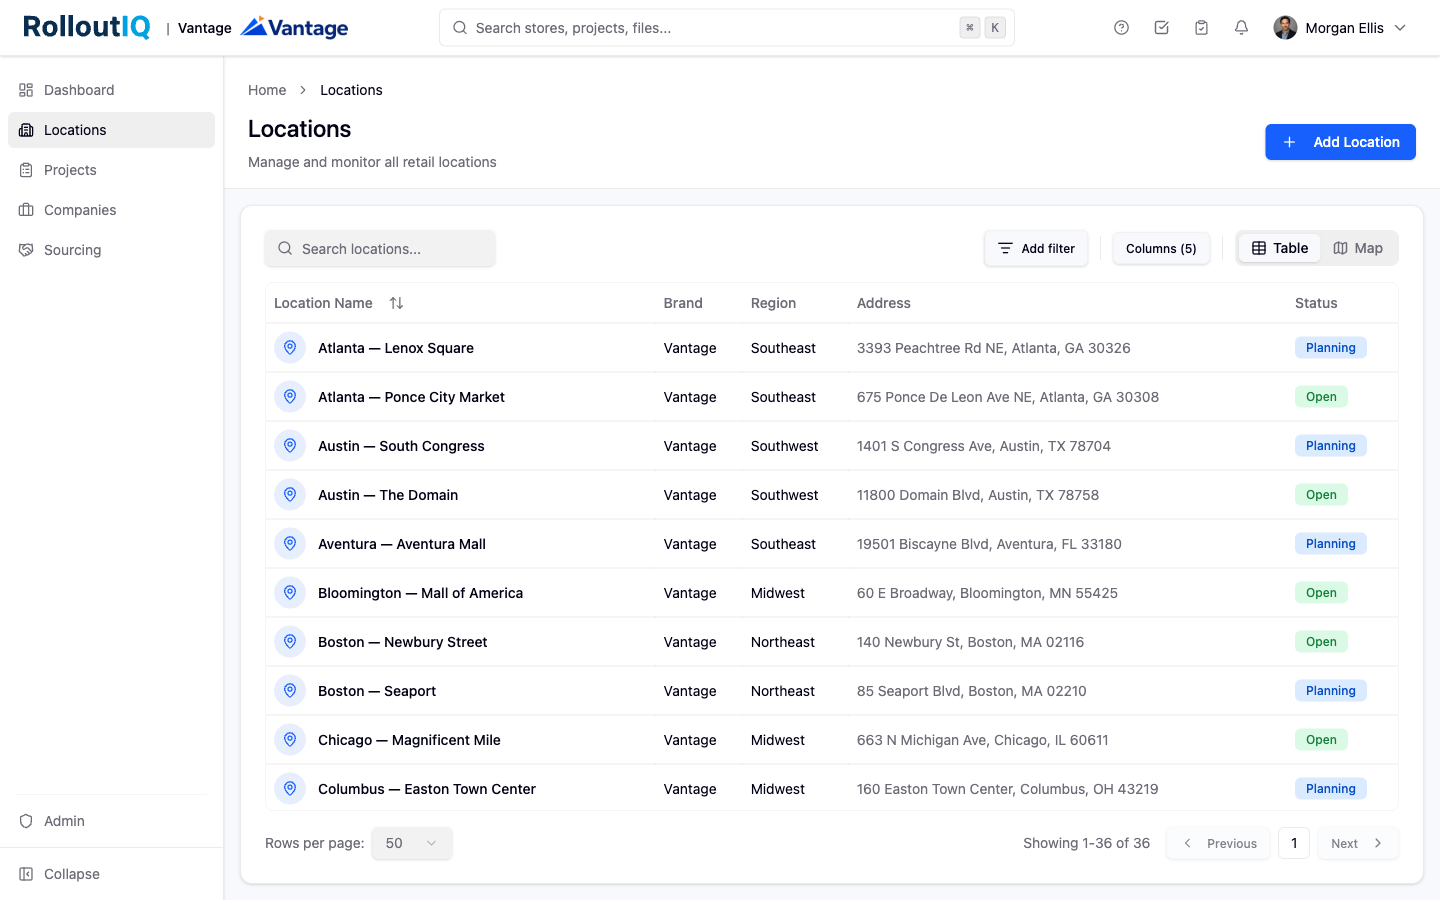
Open Locations from the main navigation. The page opens on a table by default. Summary cards across the top give you a quick read on the portfolio:
Total Locations: the overall count in your portfolio.
Open, Upcoming, Planning, and Closed: a breakdown by lifecycle stage.
Use the view toggle in the toolbar to switch between Table and Map. The table is a sortable list; the map plots each store as a pin. Both views respond to the same filters and search, so you can flip between them without losing your place. Stores that do not yet have geocoded coordinates stay in the Table view.
Type into the search box to match across a store's name, code, and address.
Use Add filter to narrow the list. You can filter by Brand, Region, Market, and Status, and each filter accepts more than one value.
Click a column header to sort. The Status column sorts by lifecycle progression (Planning, Upcoming, Open, Closed) rather than alphabetically, so the list reads the way your team thinks.
To reset the list, use Clear filters.
Click Add Location in the toolbar.
Enter a Location Name (required) and an optional Code. A code is a short identifier and must be unique across your portfolio.
Pick a Brand, Region, and Market from your configured lists. Choose the region before the market.
Set the Open Date and, if known, the Close Date. The close date must be on or after the open date.
To attach a physical address, turn on Add Address, choose an Address Type, and enter the street, city, state, postal code, and country.
Save. RolloutIQ assigns a Location Number (for example, RIQ-LO-000047) that is unique to your account and shown on the detail page.
Only the name is required, so you can create a record early in the real estate pipeline and fill in the rest as details firm up. Brand, Region, Market, and Address Type options come from lists your administrator sets up, so if a value is missing, ask your admin to add it.
Click any row to open the store's detail view.
The Overview shows the address, brand, region, market, key dates, and a slot for a storefront photo.
The Projects section lists every project this store has ever run across its real estate.
Click Edit to update any field. Deleting a Location removes it from active lists but keeps its Spaces and Projects intact, so you never lose history.
You do not set a store's status by hand. RolloutIQ computes it from the open and close dates you maintain, so the portfolio view stays honest without anyone updating a status field:
Planning: no open or close date is set yet.
Upcoming: an open date is set but has not yet arrived.
Open: the open date has passed and no close date has arrived.
Closed: the close date has passed.
There is no manual override. If you clear both the open and close dates, the store returns to Planning. To move a store's status, adjust its dates.
