Because a Project always belongs to a Space, and a Space belongs to a Location, you create these three in order. If the store and its real estate already exist in RolloutIQ, skip ahead to step 3.
Open Locations from the main navigation.
Click Add Location. The Create Location panel opens.
Enter a name (required) and an optional short code.
Pick a Brand, Region, and Market from your configured lists.
Enter the open date, and a close date if it is known.
Optionally add the primary address.
Save. RolloutIQ assigns a Location number such as RIQ-LO-000047.
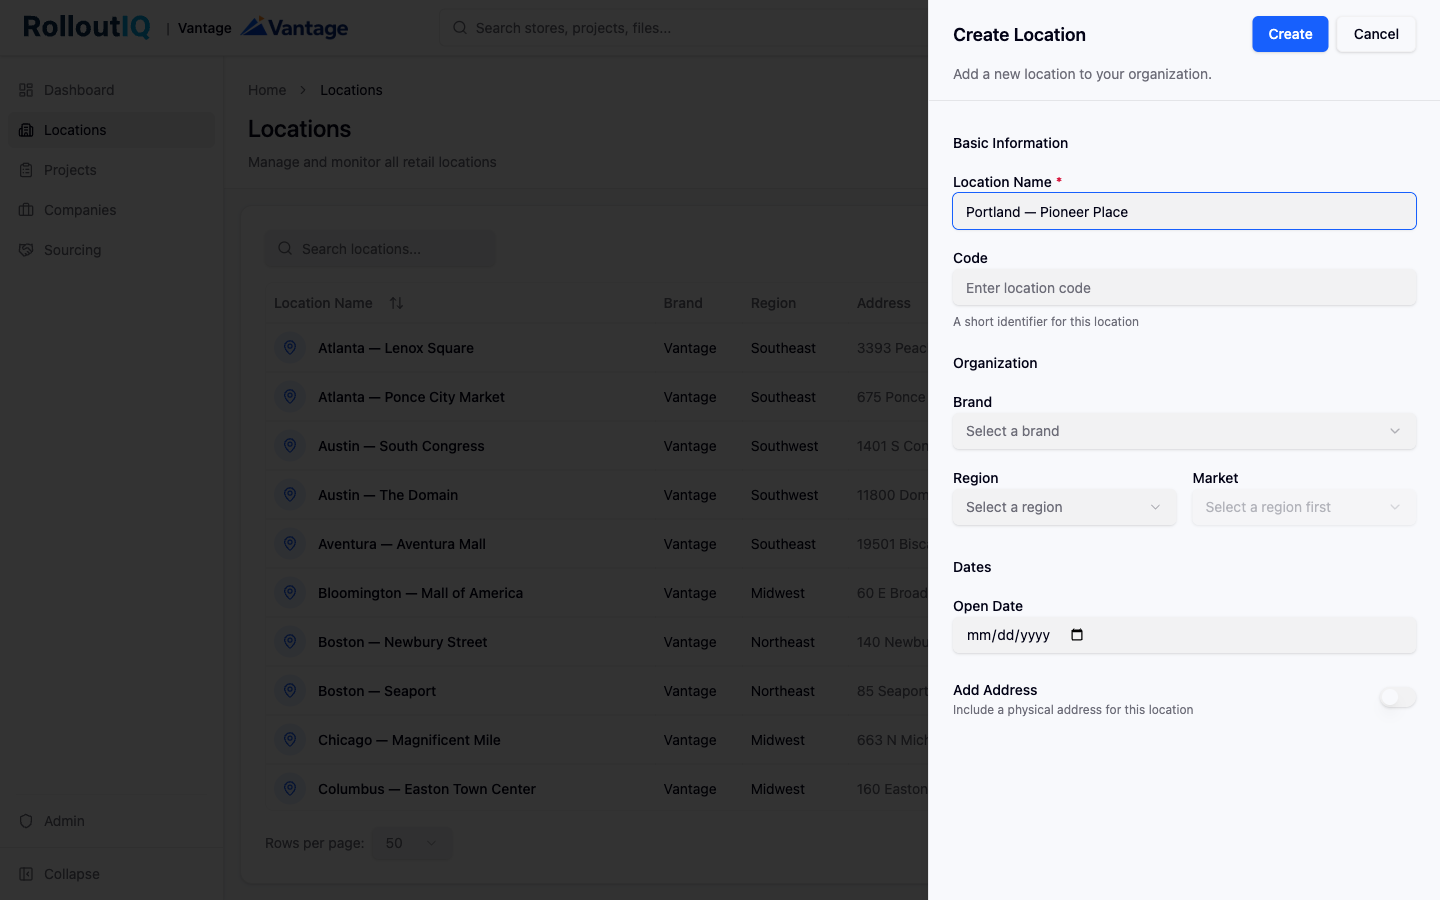
Brands, Regions, and Markets come from lists your admin sets up in the Library. If they are empty, ask an admin to add them first.
Open the Location you just created and find the Spaces section.
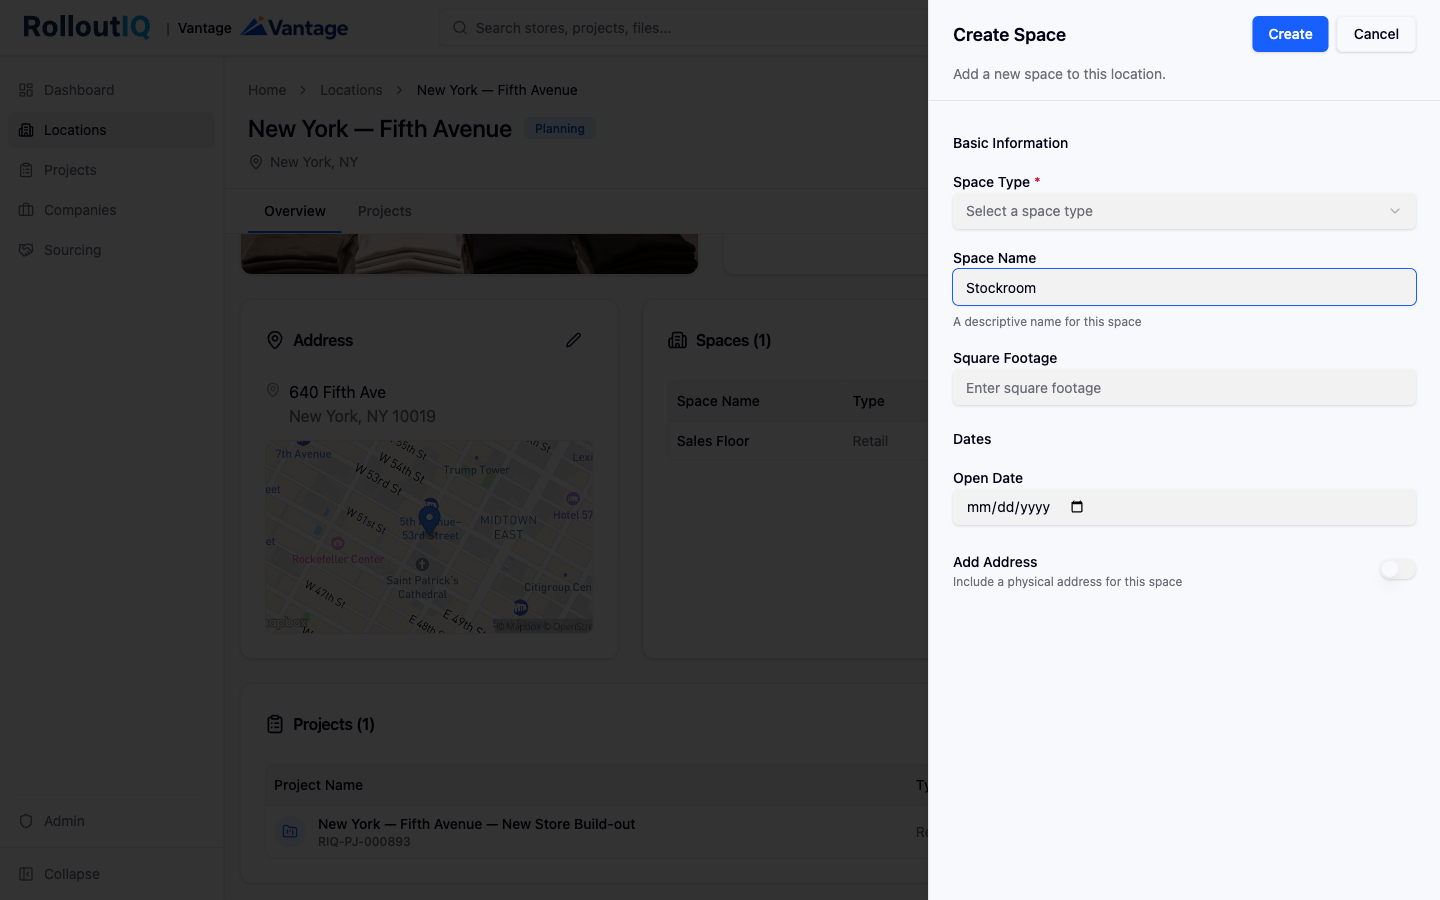
Click Add Space. The Create Space panel opens.
Pick a Space Type (required), such as in-line, pad, or freestanding.
Optionally add a name, square footage, and open date.
Optionally add the address. Autocomplete fills in city, state, postal code, and country as you type.
Submit. The Space receives a reference number such as RIQ-SP-000001.
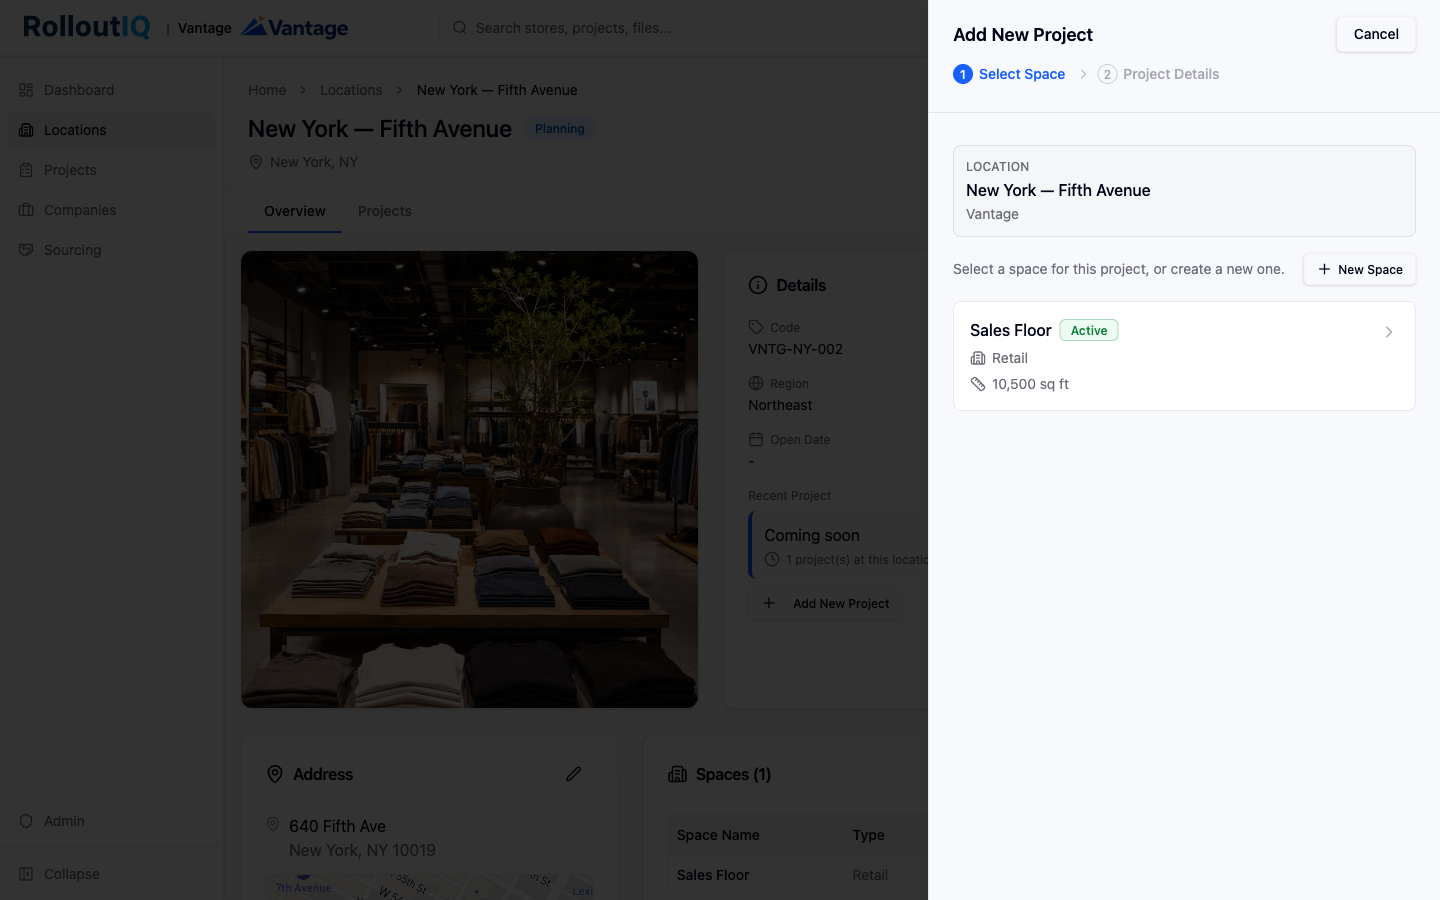
Click Add New Project.
On the Select Space step, choose the Space this project will run against, or create a new one.
On the Project Details step, give the project a name (optional), pick a Project Type such as new build, remodel, refresh, relocation, or closure, pick a starting status (typically Planning), and add a description if you have one.
Save. RolloutIQ assigns a project number such as RIQ-PJ-000001.
Set the target open date on the project header. The schedule builds and races against it.
Add the people working on the project to its Project Team, each with the role they hold.
Use Add Company to bring in a vendor firm such as a general contractor.
Explore the project tabs (Schedule, Drawings, RFIs, and more) as the work gets underway.
